Start Your Book Printing Project
Share a few details about your book. JetPrint will review your specifications and help you identify the suitable printing, paper, binding, and finishing options for your project.
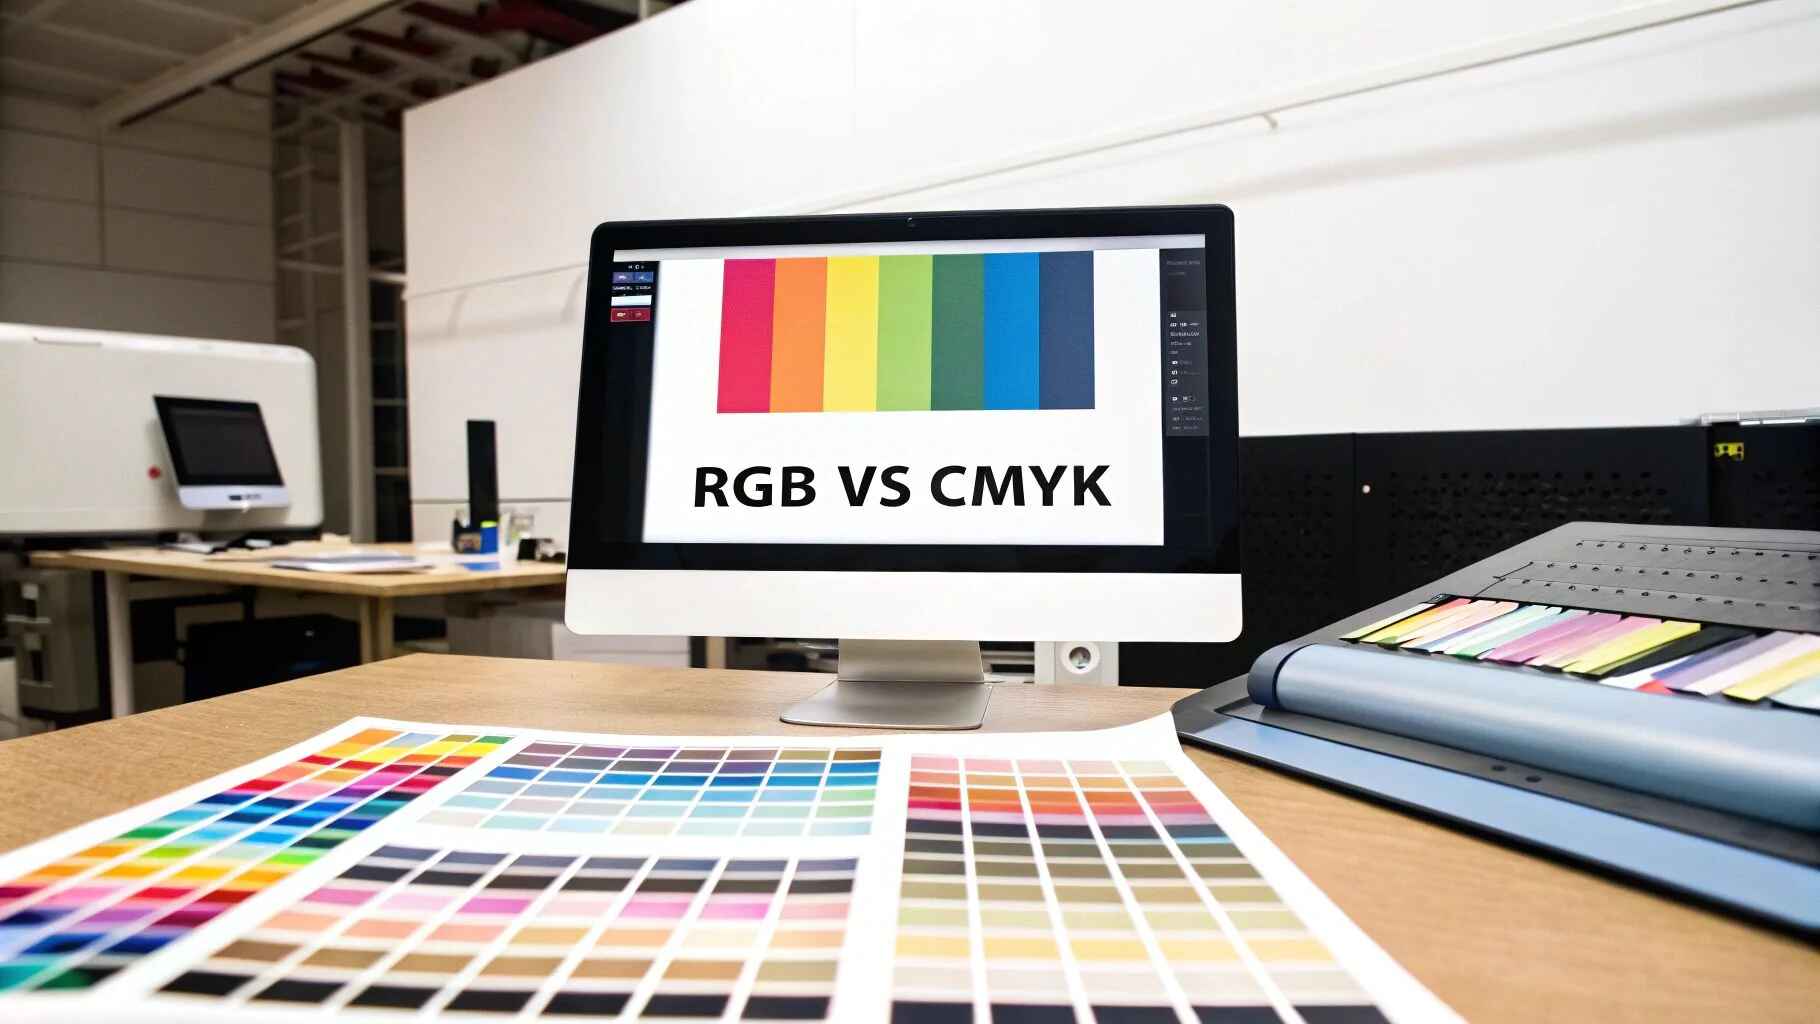
Screens lie beautifully.
An RGB image can glow on a calibrated monitor because the display emits light, yet the same file may lose neon greens, electric blues, and shadow separation when mapped through a CMYK profile onto ink, paper, and a specific press condition.
So why do designers still blame the printer after skipping the conversion test?
The usual explanation—“RGB is for screens and CMYK is for print”—is technically true and operationally weak. It ignores the part that actually controls commercial printing: the ICC profile, the substrate, the ink limit, the rendering intent, the RIP, the proofing method, and the point in the workflow where conversion occurs.
My blunt position is this: the industry’s favorite instruction, “convert everything to CMYK,” is incomplete and sometimes destructive. A careless conversion can discard recoverable RGB color information before the printer’s real output condition is known. But sending untagged RGB and hoping the press operator fixes it is not professional either.
The right answer is a controlled, profile-based workflow.
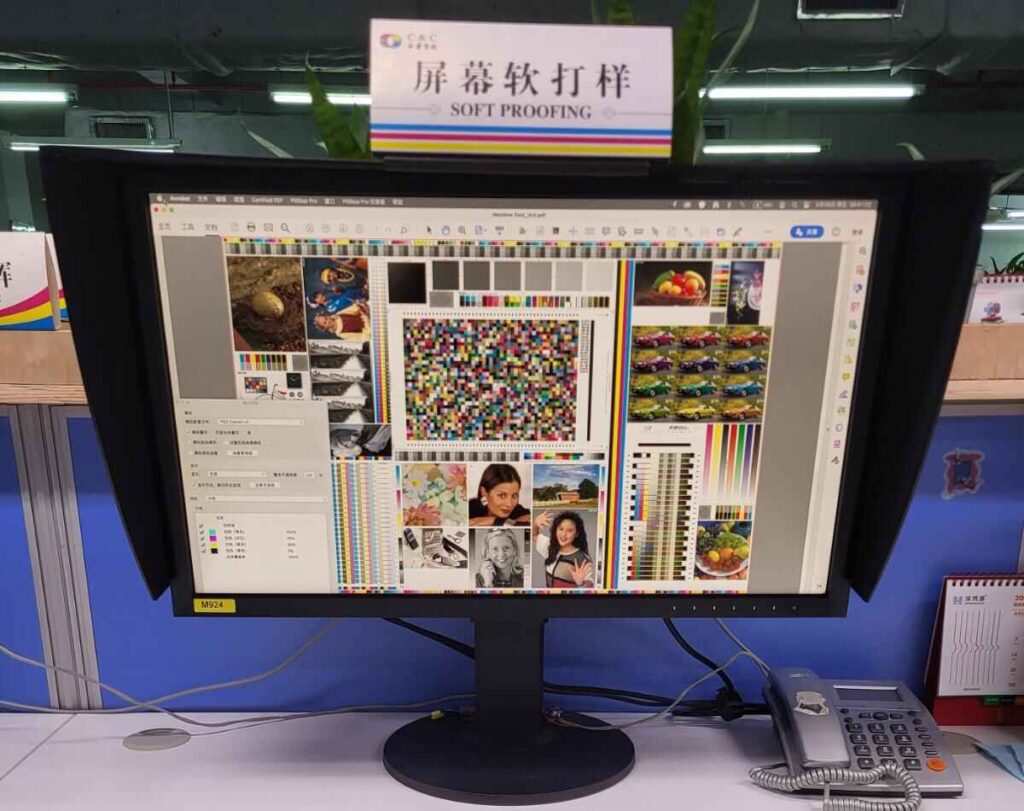
RGB is an additive color model. Red, green, and blue light are combined on a display; at full intensity, the result approaches white. CMYK is a subtractive printing model. Cyan, magenta, yellow, and black inks absorb portions of light reflected by paper, so the substrate itself becomes part of the color result.
An 8-bit RGB image can contain 256 values per channel, creating 16,777,216 possible numeric triplets. That number sounds impressive, but it does not mean every monitor can display every triplet accurately, nor does it mean a press can reproduce all of them. RGB and CMYK are device-dependent unless their numbers are tied to defined color spaces through profiles.
That distinction matters. “RGB” may mean sRGB, Adobe RGB (1998), Display P3, ProPhoto RGB, or an untagged mystery file. “CMYK” may mean GRACoL, SWOP, FOGRA51, Japan Color, a custom press profile, or raw DeviceCMYK with no reliable interpretation.
The International Color Consortium’s profile registry makes the point with hard numbers: registered CMYK conditions include total area coverage limits from 240% for SNAP 2007 newsprint to 350% for Japan Color 2011 Coated, while PSO Coated v3 is listed at 300% and GRACoL 2013 CRPC6 at 320%. There is no universal CMYK setting.
| Production factor | RGB workflow | CMYK workflow | What can go wrong |
|---|---|---|---|
| Physical basis | Emitted light | Ink absorbing reflected light | A luminous screen color cannot always be reproduced on paper |
| Typical profiles | sRGB, Adobe RGB (1998), Display P3 | PSO Coated v3, GRACoL, SWOP, custom press profiles | Using the wrong profile changes separations and gamut mapping |
| Editing headroom | Usually broader for photography and retouching | Limited to the selected print condition | Early conversion can clip saturated colors |
| Black | R=0, G=0, B=0 is one RGB definition | K-only black or a CMYK rich-black build | Four-color small text can misregister |
| Output control | Requires tagged source profiles | Requires a known destination condition | Untagged files force assumptions |
| Best role | Master images and flexible design assets | Final separations for a defined press condition | Treating either mode as universally “best” creates avoidable errors |
A printer that says “send CMYK” but cannot name the profile is not giving you a complete specification.
For a coated sheetfed book, the destination may be one condition. For an uncoated instructional manual, it may be another. For lightweight stock, ink absorption, dot gain, black generation, and total ink coverage can move again. The letters C, M, Y, and K tell you the channel structure; they do not tell you how those channels will behave on press.
This is why serious custom book printing starts with the production condition rather than a generic export preset. Page count, paper surface, binding, image density, and finishing decisions may influence the proofing and prepress route, even when the artwork appears identical on screen.
Coated paper generally holds dots closer to the surface, supporting sharper detail and stronger apparent saturation. Uncoated paper absorbs more ink and scatters more light, which can reduce contrast and make dark areas close up. Cream book paper also shifts the visual baseline because the paper is not neutral white.
That is not a defect. It is physics.
The ICC registry’s data illustrates the operational spread. PSO Coated v3 uses a 300% TAC entry, GRACoL 2013 CRPC6 uses 320%, APTEC Offset Uncoated is listed at 280%, and SNAP 2007 newsprint sits at 240%. Those values are not interchangeable recipes; they are evidence that the print condition controls the separation.
When an RGB color falls outside the destination CMYK gamut, software must remap it. Relative colorimetric rendering may preserve in-gamut colors and move out-of-gamut colors toward the nearest reproducible boundary. Perceptual rendering may compress a broader range to preserve relationships. The better choice depends on the image, profile, and proofing target.
Adobe’s current Photoshop guidance states that converting from RGB to CMYK permanently changes color values, remaps out-of-gamut colors, and may discard details that cannot later be recovered. That is why I keep master photography in a tagged RGB space and make the destination conversion only when the actual print condition is known. Adobe’s color-mode conversion guidance supports that late-conversion logic.
For most commercial projects, I recommend a split workflow:
This is not indecision. It is controlled flexibility.
A modern color-managed RIP can convert tagged RGB objects at output, and PDF/X-4 was designed for complete exchange in both color-managed and CMYK workflows. The Library of Congress notes that PDF/X-4, based on PDF 1.6, permits transparency, supports JPEG 2000, OpenType fonts, 16-bit images, and both color-managed and CMYK workflows. Its PDF/X format review also records that PDF/X-4 is widely used.
But compatibility still wins. If the printer requests flattened PDF/X-1a with all process color converted to a named CMYK profile, follow that specification. Do not force a fashionable workflow onto a plant whose RIP, imposition, proofing, or quality-control system is built around another standard.
The best color mode for printing is therefore not a universal mode. It is the color-managed route that matches the receiving printer’s documented production condition.
Use RGB as the editable source when:
Convert to CMYK when:
PDF/X-4 is not a magic “make it printable” button. It is a controlled file-exchange standard, and it still depends on correct profiles, fonts, bleed, image resolution, transparency behavior, spot-color definitions, and output settings.
Adobe’s current InDesign documentation says an Output Intent profile is required for PDF/X compliance. The Output Intent describes the intended printing condition and gives the receiving system a defined basis for rendering or conversion. Adobe’s InDesign PDF export reference also distinguishes between including tagged source profiles, including all profiles, and assigning a destination profile.
That distinction is where many files fail.
Assigning a profile changes how existing numbers are interpreted. Converting to a profile changes the numbers in an attempt to preserve appearance in the destination color space.
Confuse those two actions and a normal image can shift dramatically.
I would never “assign” a random CMYK profile to rescue an RGB image. I would preserve the tagged source profile, choose Convert to Profile, select the actual destination, inspect the rendering intent, and soft-proof the result. Then I would compare sensitive areas: saturated blues, greens, oranges, neutral grays, skin tones, deep shadows, and smooth gradients.
| Feature | PDF/X-4 | PDF/X-1a |
|---|---|---|
| Color-managed RGB objects | Permitted when correctly tagged | Converted to CMYK or spot color |
| Live transparency | Permitted | Flattened |
| Output Intent | Required | Required |
| Typical use | Modern PDF-native workflows | Older, conservative, or CMYK-only workflows |
| Main advantage | Preserves color and transparency information longer | Reduces variables before the RIP |
| Main risk | Badly configured receiving workflows may mishandle advanced content | Early flattening and conversion can create stitching, color shifts, or lost editability |
The Library of Congress describes PDF/X-4 as supporting complete color-managed and CMYK exchange while permitting live transparency, whereas PDF/X-1a is intended for complete CMYK data exchange.
The strong opinion here is simple: PDF/X-4 is usually the better container when the printer supports it properly, but a verified PDF/X-1a workflow is safer than an unverified PDF/X-4 workflow.
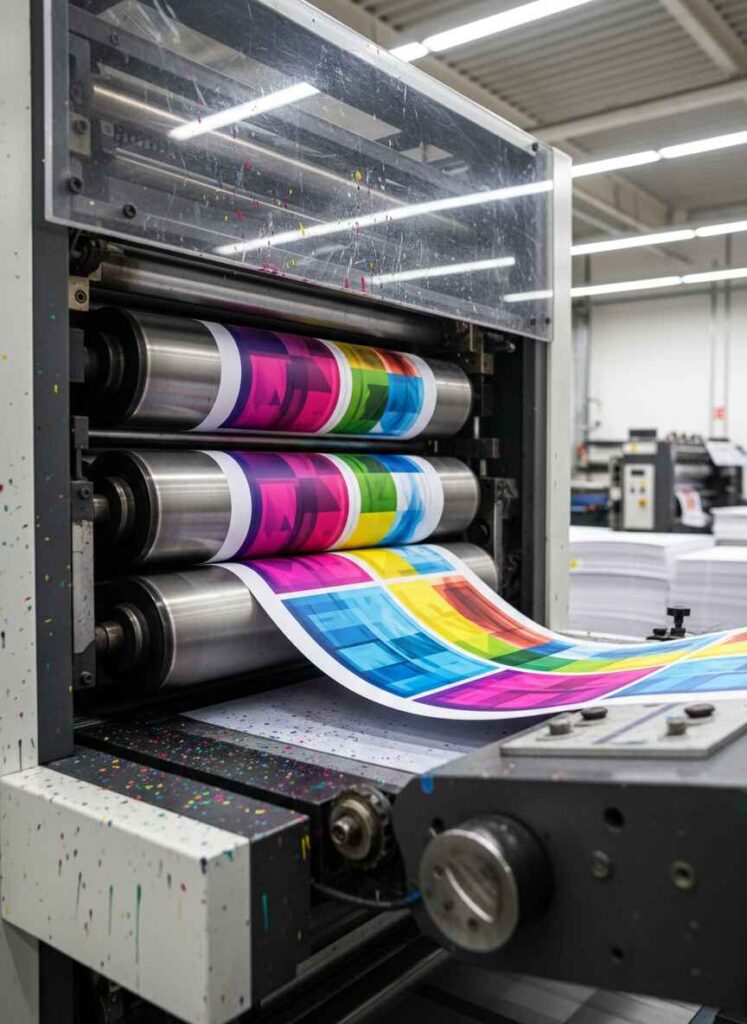
Good preflight is not “open the PDF and look at it.”
Adobe Acrobat Pro’s print-production toolkit includes Output Preview, color conversion, PDF/X saving, and Preflight; Adobe states that Preflight offers more than 400 predefined checks for common output errors and can correct some fixable problems. Adobe’s Print Production overview is a useful baseline, although a printer-specific profile remains more valuable than a generic check.
Before sending artwork for any of the production routes described on the printing capabilities page, I would inspect these items:
Use Output Preview to identify RGB, CMYK, grayscale, spot, Lab, DeviceN, and untagged objects. RGB content is not automatically an error; unplanned or untagged RGB content is the problem.
Adobe’s InDesign guidance gives a common TAC range of approximately 260% to 320%, depending on press and stock. That range is guidance, not permission to guess. Enter the printer’s actual ink limit, then inspect deep shadows and rich blacks for over-limit areas.
Small black text should normally output on the black plate only, commonly as 0C 0M 0Y 100K, unless the printer specifies otherwise. Large solid black areas may use a rich-black build, but the exact formula must come from the production specification. A four-color 7-point caption is not “richer”; it is a registration risk.
Confirm whether each Pantone or custom spot color should remain a separate ink or convert to process CMYK. A converted spot color is only a simulation, and its appearance depends on the selected profile, paper, and proofing condition.
A soft proof is useful only when the monitor is calibrated, the correct output profile is selected, and the viewing environment is controlled. It predicts a condition; it does not replace a physical proof.
Inspect effective—not merely original—resolution after scaling. A 300 ppi image enlarged to 200% becomes effectively 150 ppi. Line art, small type rendered as pixels, and high-contrast diagrams may require more resolution than continuous-tone photography.
Color accuracy does not rescue a file with missing bleed or incorrect trim size. Confirm page boxes, bleed extent, crop-mark placement, spine width, cover spread dimensions, and safe margins against the printer’s template.
Black overprint may be useful for text, but accidental overprint on light objects can make them disappear. Use Overprint Preview and separation views, not a casual browser PDF viewer.
Color approval is not purely mathematical.
A 2019 study on printed color pairs prepared 1,012 samples around 11 CIE color centers, tested four color-difference magnitudes—1, 2, 4, and 8 CIELAB units—and used a panel of 19 observers. The researchers found that visual judgment changed depending on whether samples were adjacent with no separation or divided by a hairline, which is a sharp reminder that context changes perceived difference. The published study summary is more useful than the lazy claim that one Delta E threshold fits every print decision.
This has practical consequences for books and branded print. A color patch viewed alone may pass, while the same color beside a neutral gray, skin tone, corporate blue, or adjacent page may look wrong. And a spectrophotometer reading does not tell you whether the client will accept the visual result under office LEDs, daylight, or a D50 viewing booth.
So we use both measurement and judgment.
For projects with sensitive illustrations, photography, or brand colors, ask about proof type, measurement condition, light source, substrate, and acceptable tolerance before production. A printer’s company and production background may establish credibility, but the job-specific proof and written specification decide whether the color target is actionable.
Using “U.S. Web Coated (SWOP) v2” for a coated sheetfed job in another market may be worse than leaving a correctly tagged RGB image for a managed conversion. The profile name must match the intended printing condition, not the software’s default menu.
An RGB file without an embedded profile is a set of numbers without a reliable color meaning. One system may assume sRGB; another may use a working-space default. The resulting shift can be subtle or severe.
A bright display produces luminous colors that reflective paper cannot reproduce. Maximum monitor brightness also encourages files with underdeveloped shadows and disappointing print density.
Four plates must align. Fine type, hairlines, and small reversed elements punish registration error. K-only black is normally the safer route for small text.
Adding CMY into dark areas can raise TAC, slow drying, increase setoff risk, and bury shadow detail. More ink does not automatically mean more color.
RGB to CMYK to RGB to another CMYK profile is not a neutral round trip. Each transformation may remap gamut and alter channel structure. Keep a clean tagged master and generate output versions from it.
Here is the workflow I would put in writing before a commercial print order:
That sequence is not bureaucracy. It is cheaper than reprinting a book.

Use tagged RGB for editable source images and convert or output through the printer’s confirmed CMYK condition at the final production stage, because the correct choice depends on the receiving RIP, PDF standard, substrate, ink limit, and destination ICC profile rather than a universal rule that every print file must begin in CMYK.
A modern PDF/X-4 workflow may accept tagged RGB and convert it at output. A CMYK-only workflow may require conversion before delivery. Ask for the printer’s exact specification.
RGB colors can look dull after CMYK conversion because a light-emitting RGB display can represent saturated colors that a selected ink-and-paper condition cannot reproduce, forcing the color-management system to remap out-of-gamut values into the smaller or differently shaped destination gamut while also accounting for paper color, black generation, and total ink coverage.
Electric blues, greens, and oranges are frequent problem areas. Soft-proofing shows the likely change before conversion or export.
Convert RGB to CMYK after major image editing is complete and only when the printer’s destination profile, paper condition, PDF requirement, and proofing method are known, because early conversion can permanently remap saturated colors and restrict later corrections while a late, controlled conversion preserves more source information for the actual production condition.
Keep an untouched tagged RGB master. Produce the final CMYK output as a separate derivative file.
PDF/X-4 is generally better for modern color-managed printing because it preserves live transparency, tagged RGB data, ICC-based color information, layers, OpenType fonts, and 16-bit images longer in the workflow, while PDF/X-1a converts content to CMYK or spot color and flattens transparency before the file reaches the printer’s RIP.
However, the printer’s verified workflow takes priority. A correctly processed PDF/X-1a file is safer than a PDF/X-4 file sent to an incompatible system.
Use the CMYK profile specified by the printer for the exact press, paper class, ink set, and production standard, because CMYK profiles define different gamuts, black-generation methods, tone-value behavior, and total area coverage limits, meaning a generic default can produce separations that do not match the actual printing condition.
Do not choose a profile solely because it is familiar. Request the printer’s named profile or documented standard.
A commercial printer can accept RGB files when its workflow supports tagged RGB, ICC color management, and controlled conversion through a known output profile, but acceptance alone does not guarantee predictable color, so the provider should confirm the permitted source profiles, PDF standard, rendering method, proofing route, and responsibility for final conversion.
Never assume that “we accept RGB” means every untagged RGB file will reproduce accurately.
The safest black setup for small printed text is usually black ink only—commonly 0C 0M 0Y 100K—because using cyan, magenta, yellow, and black together creates four separate plate images that must register precisely, increasing the risk of colored fringes, soft edges, and reduced legibility on fine type.
Use rich black for larger fills only when the printer supplies an approved build and TAC limit.
Do not wait until the press proof to discover that the artwork used the wrong CMYK profile.
Before placing a commercial printing order, send the printer a representative PDF, identify the source RGB profiles, ask for the required Output Intent, confirm the TAC limit, and request the correct cover or page template. Then review the proof against the approved production condition—not against an oversaturated laptop display.
For project-specific file requirements, use the contact page to submit your print specifications and artwork details before final export. A ten-minute prepress conversation can prevent a full production run from becoming an expensive color-management lesson.

Leave Your Comments